
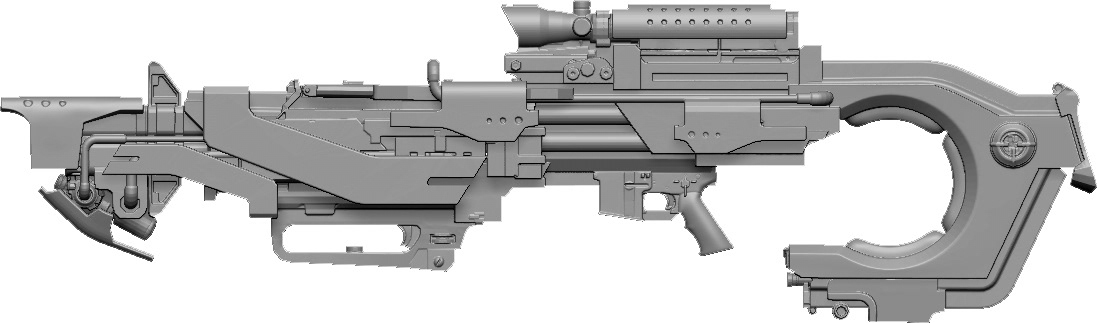
Reference pictures of the blaster were brought into Solidworks. This ensured parts were designed to scale and kept everything accurate.

Once modeled in Solidworks, it was then carefully split into over 40 parts, in able to fit on a 3D printer.
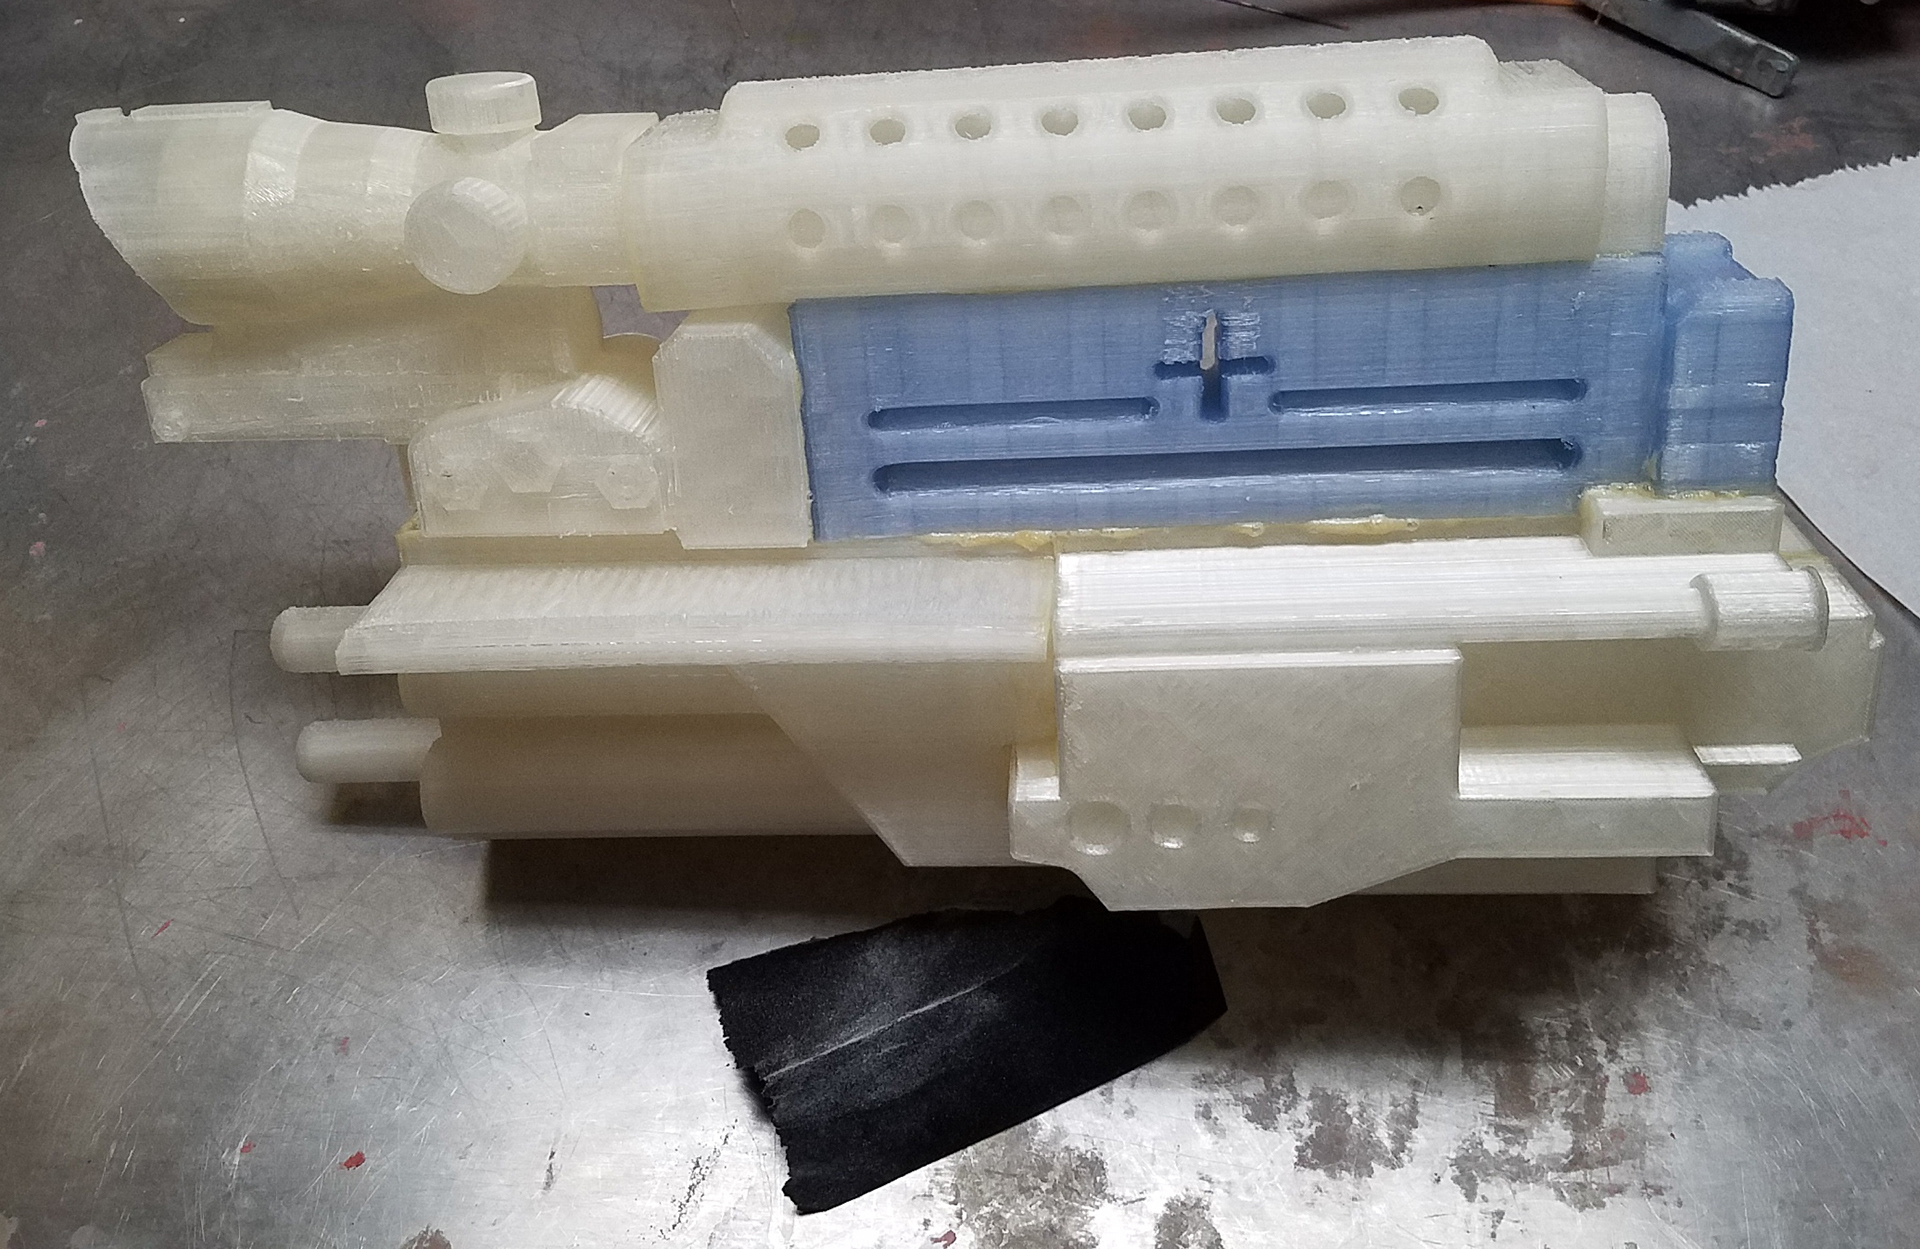
Each part would be glued and assembled into sub-assemblies.
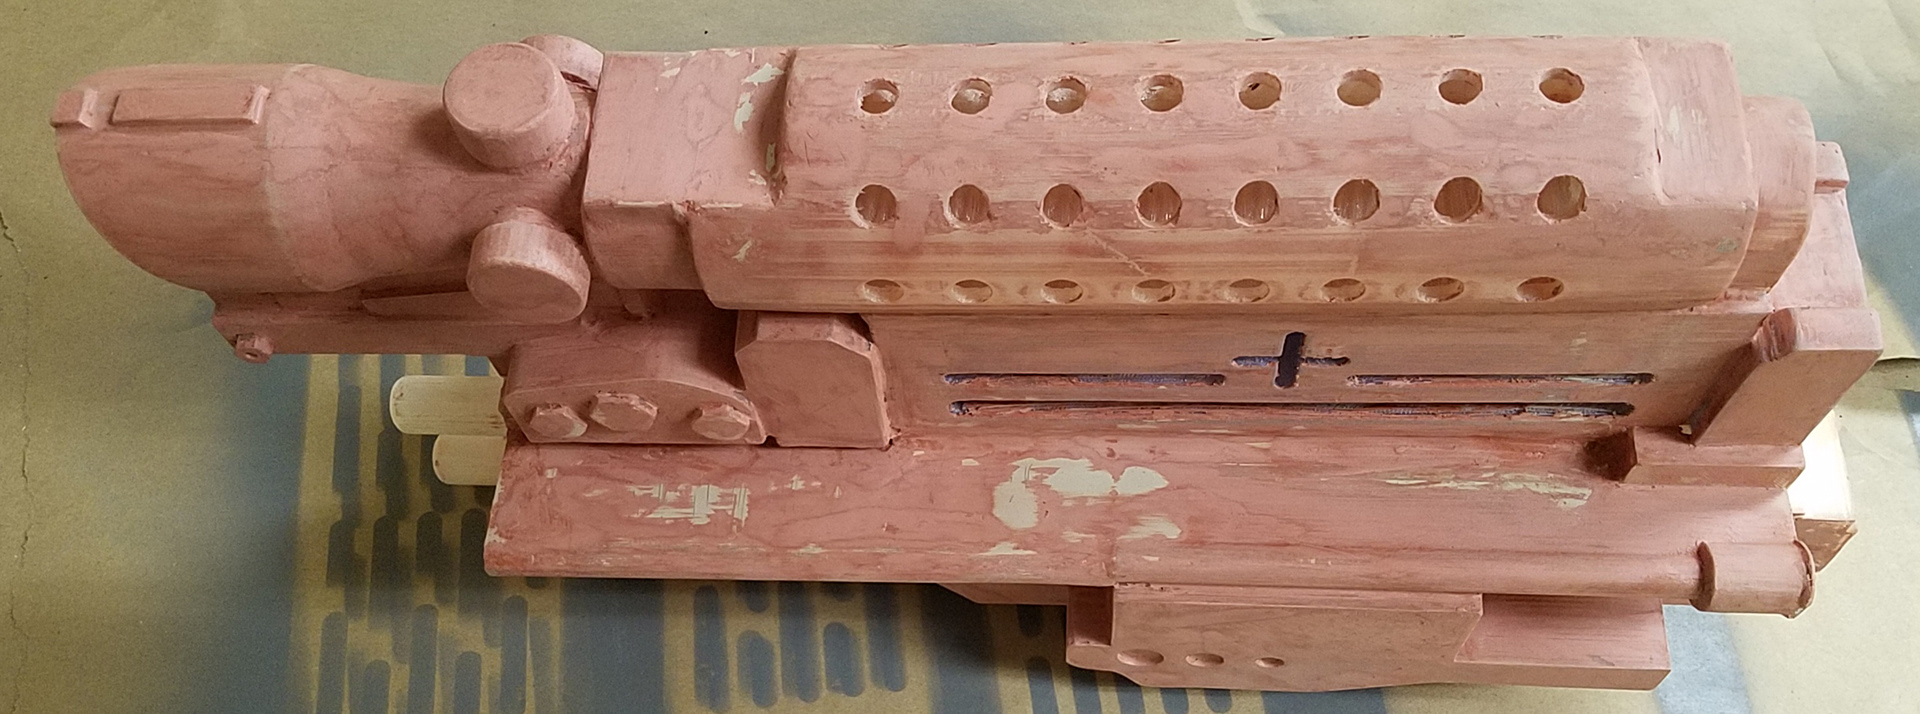
The sub-assemblies would be sanded and puttied, multiples times, until all gaps were gone and the parts looked seamless together.
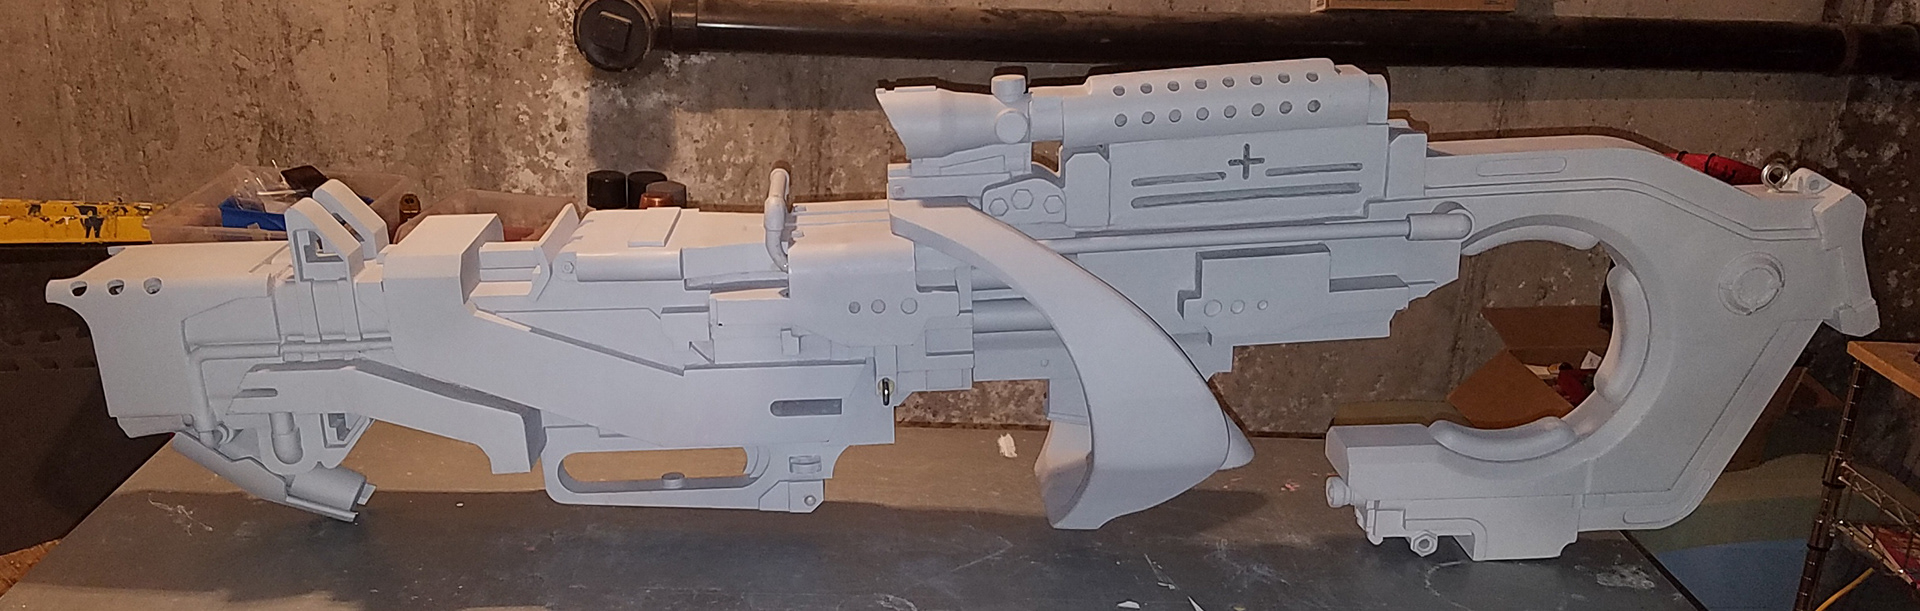
The entire assembly was primed and sanded, many times, in order to ensure there was no evidence of the parts being 3D printed.
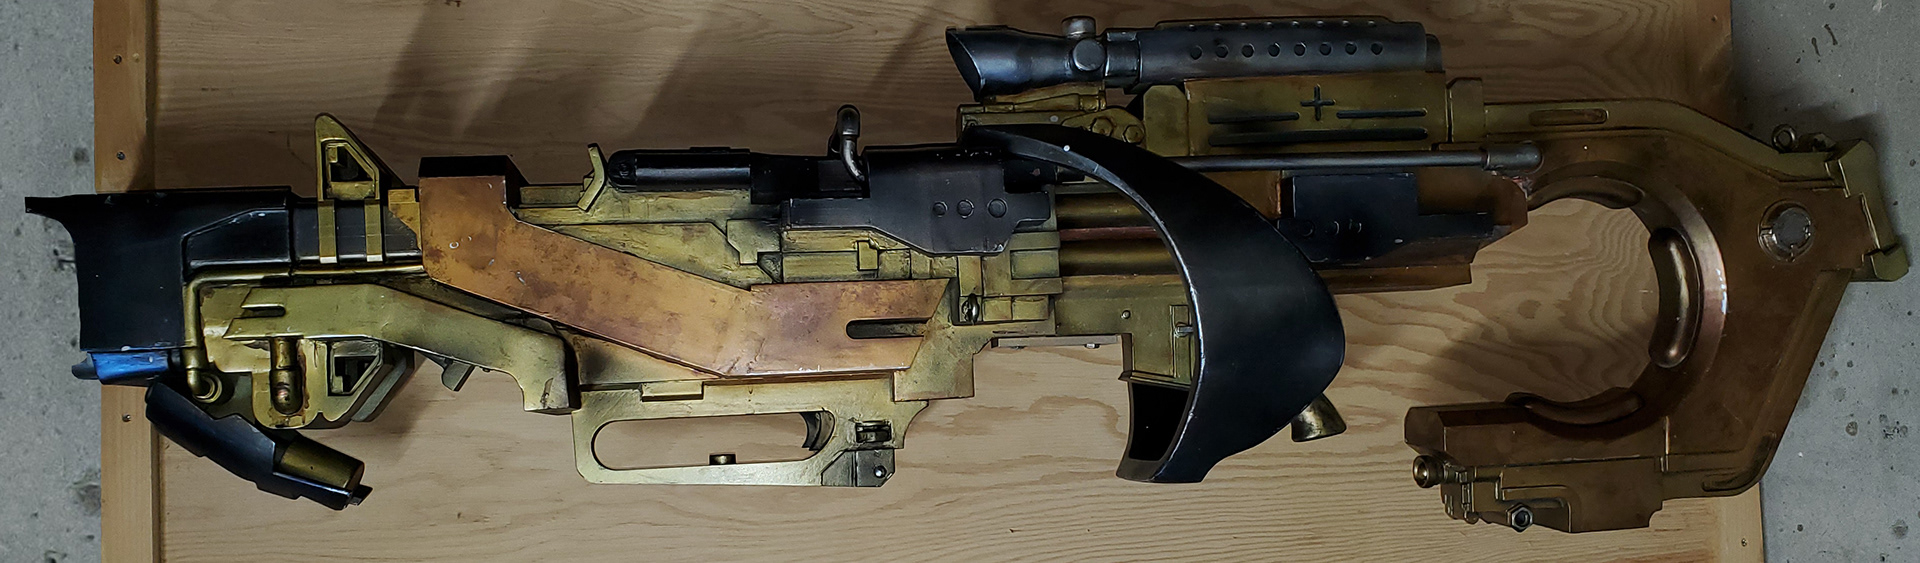
Here is the finished blaster. It was painted by a very talented vendor, which we use for highly detailed pieces.